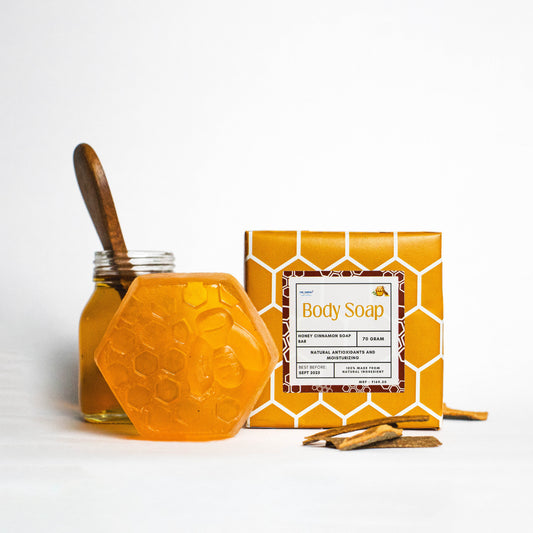
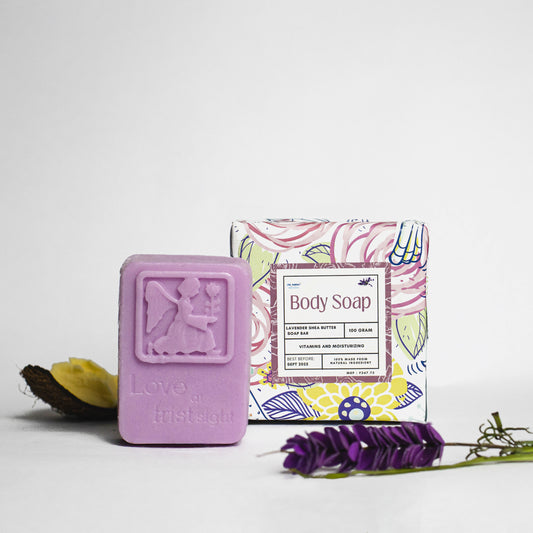
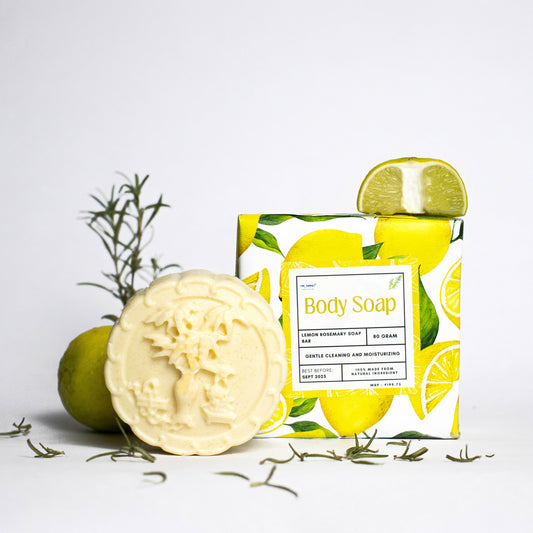
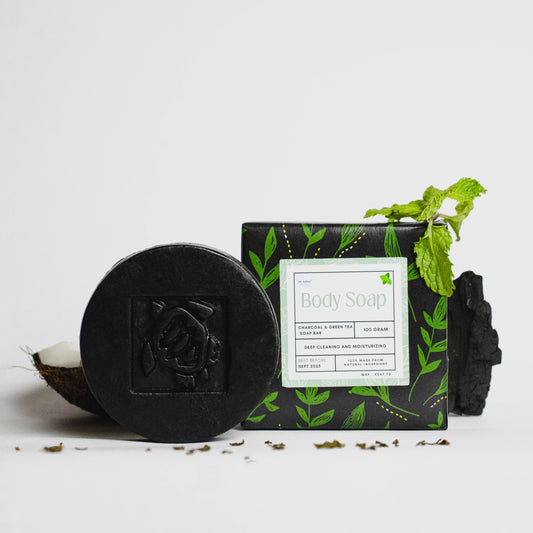
The quest for a healthier lifestyle has led many to seek alternatives for everyday essentials in a world dominated by commercial products laden with synthetic ingredients. One such pursuit is the creation of zero-chemical soap, a delightful and rewarding endeavour that puts you in control of what touches your skin. In this guide, we'll explore the art of crafting your own zero-chemical soap, free from harmful additives. Let's embark on a journey to create a soap that cleanses and nurtures your skin with the goodness of natural ingredients.
Table of Content
How To: Make Your Own Zero Chemical Soap
- Understanding the Need for Zero Chemical Soap:
- Ingredients for Zero Chemical Soap:
- The Soap-Making Process:
Understanding the Need for Zero Chemical Soap:
Before delving into the soap-making process, it's crucial to understand why opting for zero-chemical soap is a wise choice. Commercial soaps often contain harsh chemicals, synthetic fragrances, and detergents that can strip the skin of its natural oils, leading to dryness and irritation. Making your own soap allows you to choose organic, sustainable, and skin-friendly ingredients contributing to a healthier bathing experience.
Ingredients for Zero Chemical Soap:
Base Oils:
Start with a blend of nourishing oils such as olive oil, coconut oil, and sweet almond oil. These oils provide the foundation for your soap, offering moisturizing properties and a creamy lather.
Licorice:
Licorice is essential in soap-making, as it facilitates the saponification process, turning oils into soap.
Liquid:
Choose a liquid to mix with the lye, such as distilled water or herbal tea. This adds a unique touch to your soap and enhances its skin-loving properties.
Essential Oils:
Consider adding essential oils like lavender, tea tree, or chamomile for fragrance. These not only provide a pleasant scent but also offer various therapeutic benefits.
Extras (Optional):
You can enhance your soap with natural additives like oatmeal for exfoliation, honey for additional moisture, or activated charcoal for detoxifying properties.
The Soap-Making Process:
Safety First:
Gather your equipment, including a heat-resistant bowl for mixing, a stick blender, moulds, and safety gear. Work in a well-ventilated area, and ensure you have protective equipment on hand.
Measuring Ingredients:
Accurately measure your oils, lye, and liquid, following a precise recipe. This ensures a balanced soap that cleanses without being too harsh on the skin.
Mixing Oils and Lye:
Slowly add the lye to the liquid, stirring gently to avoid splashes. Once mixed, combine the lye solution with the melted oils, stirring continuously until the mixture reaches trace – a thick, pudding-like consistency.
Adding Essential Oils and Extras:
Incorporate your chosen essential oils and any extras, such as herbs or exfoliants, into the soap mixture. Stir thoroughly to distribute these elements evenly.
Pouring and Setting:
Pour the soap mixture into moulds and set it for 24-48 hours. The soap will undergo saponification during this time, transforming into a solid bar.
Cutting and Curing:
Once set, cut the soap into bars and allow them to cure for 4-6 weeks. Curing enhances the soap's hardness and longevity, making it ready for use.
Also Read:- DIY Tips To Make Organic Natural Lemon Soap At Home
Conclusion:
Congratulations! You've successfully crafted your own zero-chemical soap, a testament to your commitment to a healthier lifestyle. By choosing natural ingredients and avoiding harmful chemicals, you've created a soap that cleanses and pampers your skin. Embrace the art of soap-making, and let the pure, wholesome lather of your creation become a part of your daily self-care routine. For more inspiration and high-quality ingredients, or to get zero chemical soap at the best prices, visit The Bubbles Bath Co., where a world of natural goodness awaits.


